
This is one of those jobs that I do so infrequently that I forget the exact required process in the time since the last one I set up. As I occasionally use my blog as a receptacle for recording how-to instructions, I give you How to Create a Shared Mailbox in Exchange 2010.
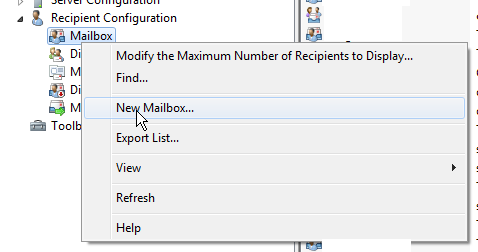
Firstly, open up the Exchange Management Console (EMC) and navigate to Recipient Configuration and Mailbox. Right-click on Mailbox and choose New Mailbox. If you already have a mailbox that you wish to turn into a shared one, you can skip these creation steps.
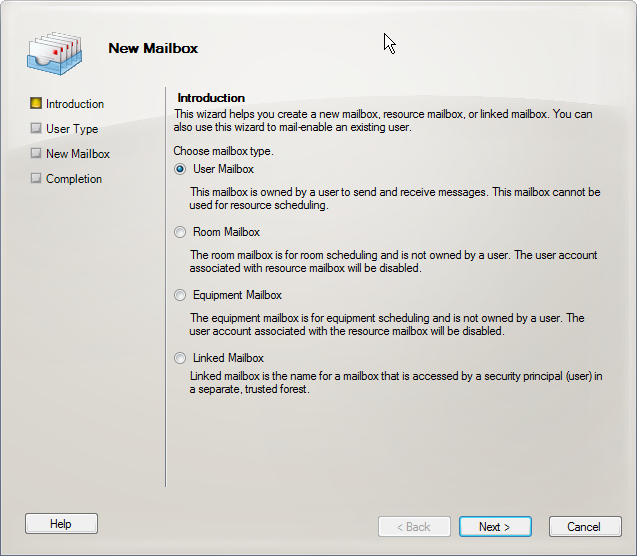
Choose User Mailbox and then New Mailbox:
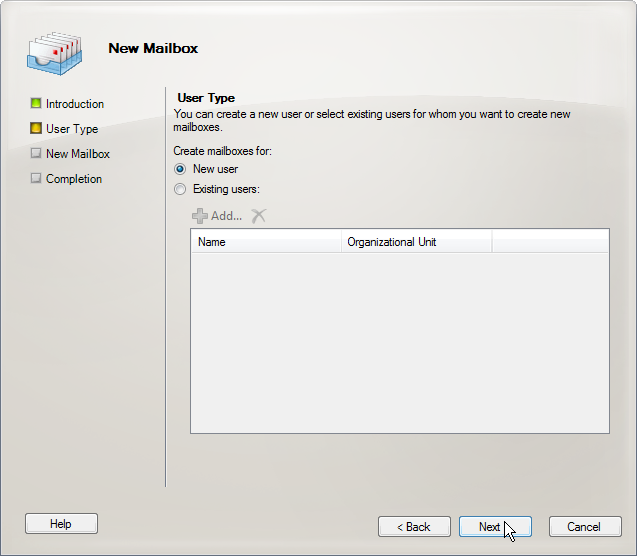
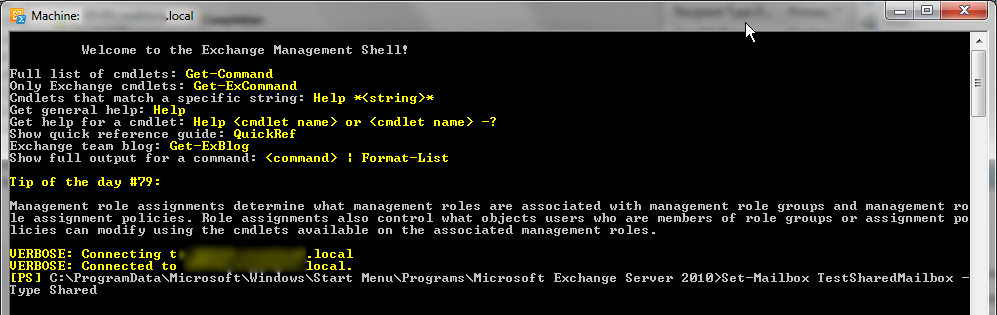
Go through the wizard giving your mailbox a name and so on (including a password, which you won’t actually need), and when completed, open up the Exchange Management Shell. That’s the Powershell commandline tool for Exchange – you can’t do this next step in the EMC. If you are converting an existing mailbox rather than creating a new one, you can rejoin the fun here.
The command you want is:
Set-Mailbox TestSharedMailbox -Type Shared
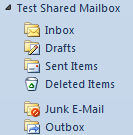
If you refresh the view back in the EMC you’ll see that the mailbox type has now changed to Shared Mailbox:
![]()
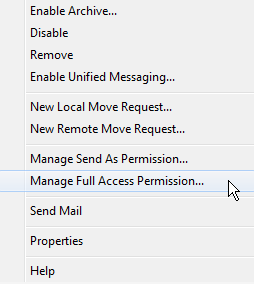
The final step is to assign permissions to those users who need access to the mailbox. Right-click on it (in the EMC) and choose Manage Full Access Permission:
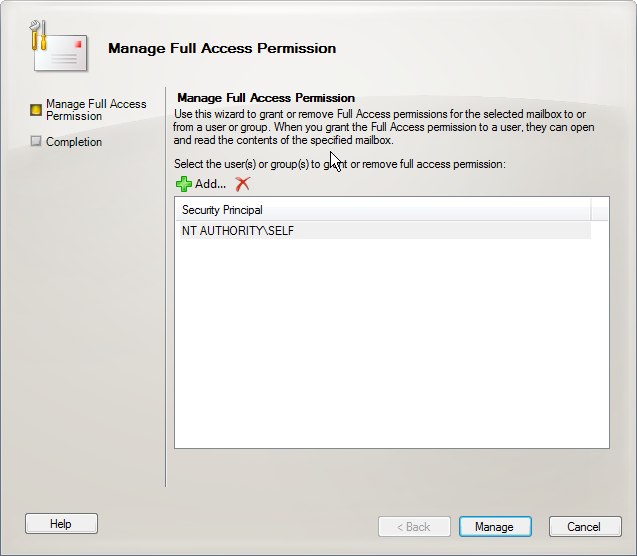
Simply add the necessary users here (by, er, clicking add and searching for them):
Once finished, click Manage and wait! Soon (how long may depend on how you’ve set up Exchange and/or Outlook policies – probably no more than 30 minutes or so) the new mailbox will appear in Outlook for the users you have given permission to:
And that’s it!