Introduction
In today’s digital age, the computer mouse has become an indispensable tool for navigating the vast virtual world of your personal computer. If you’ve recently acquired a USB mouse and are wondering how to connect it to your PC, you’re in the right place. This step-by-step guide will take you through the process, explaining the fundamental concepts of USB technology, computer mice, and why you might choose to use a USB mouse.
USB is a standard protocol used for connecting various devices
Understanding USB
Before we delve into the intricacies of connecting your USB mouse to your PC, let’s get a basic understanding of USB (Universal Serial Bus). USB is a standard protocol used for connecting various devices, such as mice, keyboards, printers, and external hard drives, to a computer. It allows for easy plug-and-play connectivity, meaning you can connect and disconnect devices without needing to restart your computer.
A USB cable, the physical link between your device and the computer, consists of a series of wires and connectors that transmit data and power. One end of the USB cable has a connector that fits into your device, while the other end typically connects to the USB port on your computer.
Some advanced mice may also have additional buttons
Understanding a USB Mouse
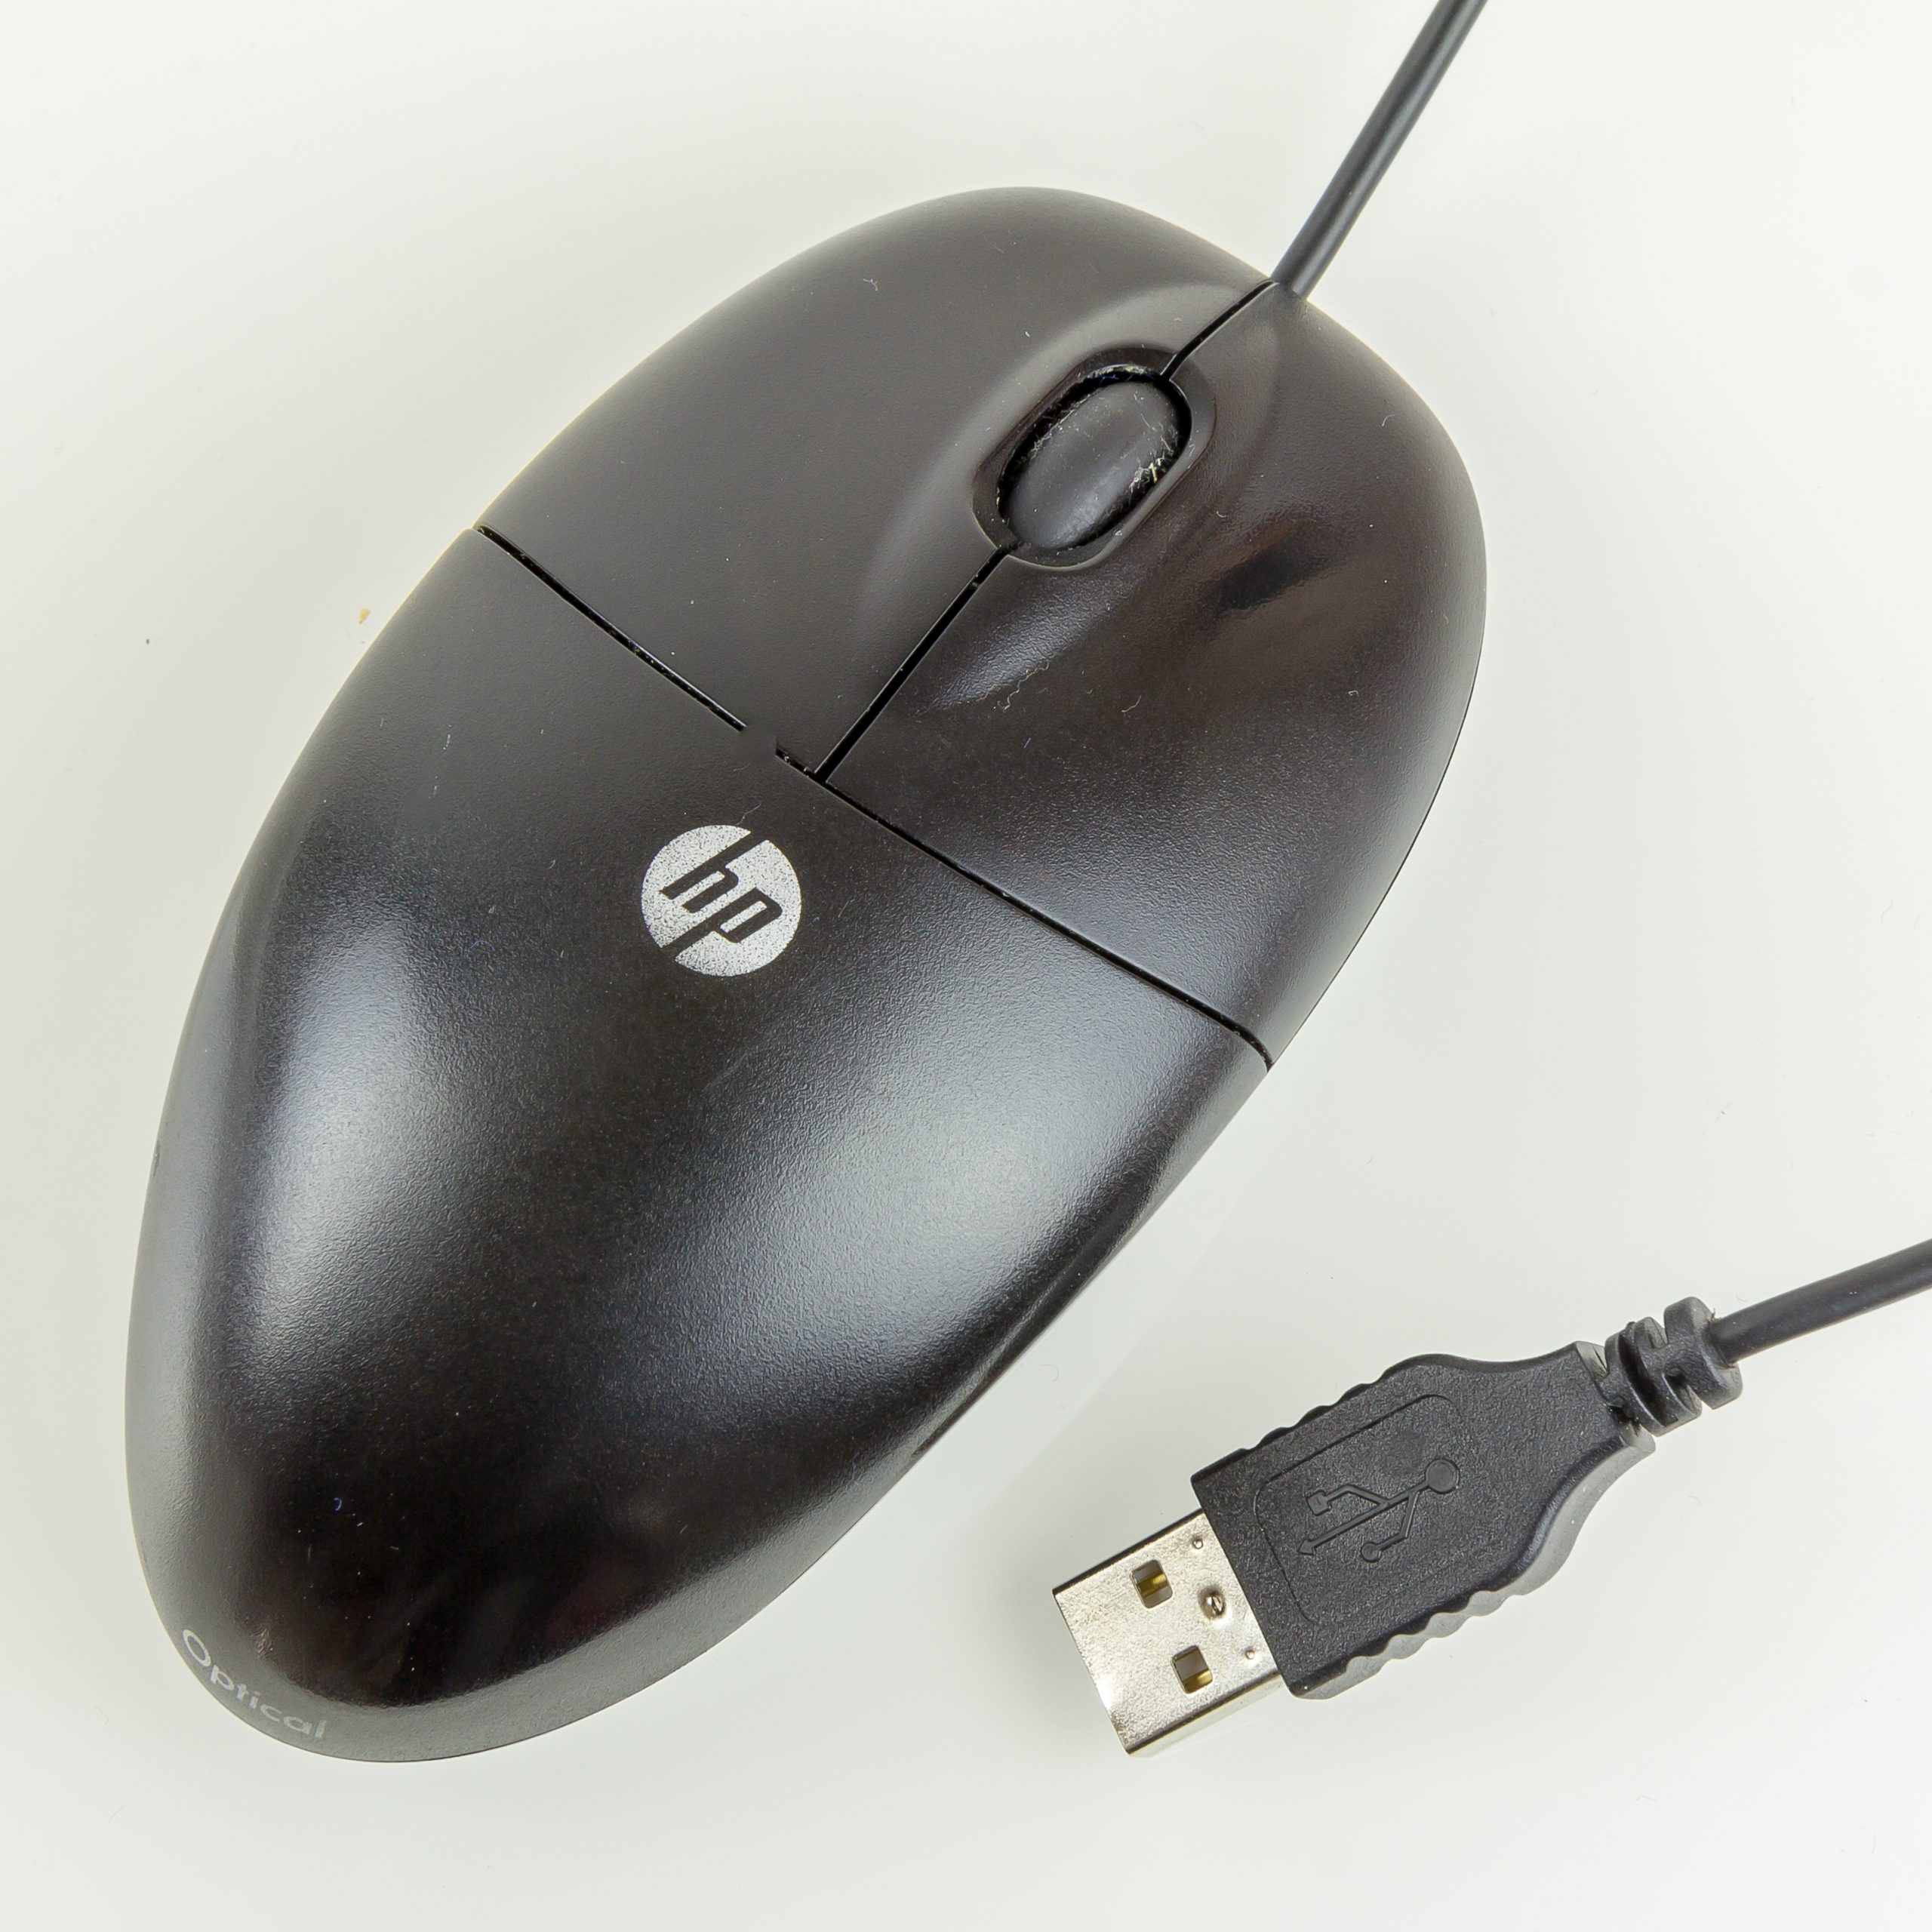
A USB mouse, on the other hand, is a pointing device designed for ease of use and precise navigation. It is equipped with two buttons (left and right) and a scrolling wheel (usually found in the middle). Some advanced mice may also have additional buttons that can be customized for various functions.
Reasons to Use a USB Mouse
- Precision and Responsiveness: USB mice are known for their precision and responsiveness. They offer smooth tracking, making it easier to navigate your computer’s interface, design software, or play games.
- Ergonomics: Many USB mice are ergonomically designed, which means they are comfortable to use for extended periods. This can reduce hand fatigue, especially for those who use a computer regularly.
- Versatility: USB mice are compatible with a wide range of devices, including laptops and desktop computers, making them a versatile choice.
- No Batteries Required: USB mice are powered directly by your computer through the USB cable, so you don’t need to worry about changing or recharging batteries.
The connector is designed to fit in only one orientation
Step-by-Step Guide: How to Plug a USB Mouse into a PC USB Port
Now that you’re familiar with the essentials, let’s walk through the process of connecting your USB mouse to a PC.
Step 1: Locate an Available USB Port
Examine your computer and identify an available USB port. These ports are often found on the front, back, or sides of your PC’s case.
Step 2: Plug in the USB Mouse
Gently insert the USB connector of your mouse into the USB port. The connector is designed to fit in only one orientation, so don’t force it. Ensure a secure and snug fit.
Step 3: Recognize the Plug-and-Play Process
Once connected, your computer should recognize the new device. You may hear a sound, or you might see a notification on your screen indicating that the USB mouse is ready to use. In most cases, there’s no need to install additional drivers, thanks to the plug-and-play functionality of USB devices.
Step 4: Test the Mouse
After plugging in the mouse, move it around on a flat surface, click the buttons, and scroll the wheel to ensure everything is working correctly. Your mouse is now ready to be used.
Conclusion
In conclusion, connecting a USB mouse to a PC USB port is a straightforward process that enhances your computer experience by providing precision and ease of use. USB technology simplifies the connection, and the versatile nature of USB mice makes them an excellent choice for various computing needs. Now that you have mastered the art of plugging in a USB mouse, you can enjoy smoother navigation and greater control over your computer tasks.
(Yes this post is a parody.)

