Since I’m now teaching people how to make programs in PICO-8, I thought I might as well put my teaching notes here for others who may find them useful.
A few caveats:
I am not an expert. Yes, there are better ways of doing some of what I’m explaining (and some of the improvements will come in later parts of the “course”), but my “class” consists of children, some of whom will have no coding experience past Scratch so bear that in mind. In particular, I will be using longhand for variables, and objects/classes will be used later on, to keep things readable, simple, and followable. Followable is definitely a word. Also, this won’t teach you how to use PICO-8 itself, just how to program with it. There’s a manual for that.
The game we’re going to create is very simple. There are two sprites, and one sprite is player controlled and chased by the other sprite. That’s it. Told you it was very simple.
Parts of a PICO-8 Game
There are three main functions to deal with in a basic PICO-8 program: _init(), _update() and _draw(). Note the underscores – without them your program won’t work.
_init()
This is called at the start of your program when you run it. Unless called again, it runs only once. It’s here where you put all your setup stuff, variable initialisation, and so on.
_update()
This is called over and over again, 30 times a second. In here you put your “game logic”, updating variables such as object locations, checking for collisions, increment the score, and so on.
_draw()
This function is where all the drawing on the screen takes place. So you’d print the score, draw the sprites, and so on in the _draw() function. It is also called 30 times a second if it is possible to do so – if the code is taking to long to run it may drop _draw() calls so that _update() has time to run properly.
Just a few things to mention before I show you any code:
Firstly, comments in the code (that is, notes to you rather than actual code) are either lines starting
--
which comments out that line, or
--[[
which comments out everything until
]]
Secondly, it’s good practice to give all your functions and variables useful names. PICO-8 does have a character limit so you may need to make them shorter and therefore less useful in the future, but not yet!
Finally, indent your code. When you open a function, a loop, an if/then or anything like that, indent everything in it. It makes it a lot easier to read.
If you follow these three rules, your code will be nice and readable – important if you come back to it weeks or months later, or give it to someone else, but also it helps a lot when things aren’t working as you’d expect.
Part 1: Put some stuff on the screen
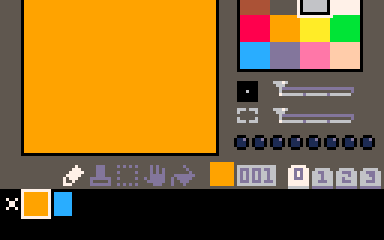
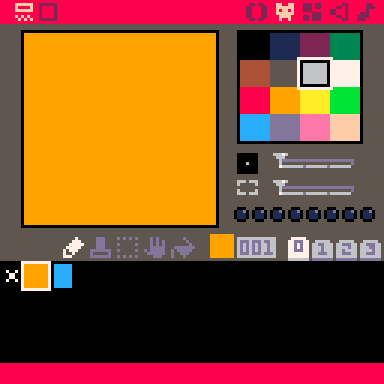
First off, we’ll need a sprite to act as the player. We’ll just draw a blank square for now in the sprite editor, and use the sprite slot 1 to store it. We won’t need it yet but lets also create an enemy sprite the same only a different colour in slot 2.
Now, in the code editor, lets put the three basic functions I mentioned above:
function _init()

end

function _update()

end

function _draw()

end
We’ll choose now what the start coordinates of the player sprite are. The PICO-8 screen is 128×128 pixels, with the top left of the screen at 0,0, and the bottom right at 127,127. The middle will be roughly 64,64 then. We’ll call the x and y coordinates of the player, well, x and y. Why not?
Since they’re being initialised, we put these in _init():
function _init()
 x = 64
 y = 64
end
At this point, we’re not going to move it about, but we do need to draw it. Usually in a PICO-8 game, you’ll want to clear the screen at the start of each draw frame, so we’ll make use of the cls() command to do that. We can choose what colour to clear the screen to by putting the colour number in cls(). You can use this palette to chose one:
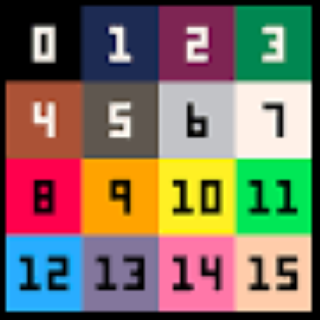 cls(2) will clear the screen to a sort of purpley mauve, for example.
Then we’re going to draw the player sprite on the screen at 64, 64 – now known as x and y. This is done with the spr() command, and the coordinates refer to the top left corner of the sprite. We also need to tell spr which sprite to use, in this case the player sprite, which is sprite number 1.
function _draw()
 cls(2) -- clear the screen to mauve
 spr(1,x,y) -- draw sprite 1 at x, y
end
And there we go:

Next time, I’ll show you how to make the thing move around the screen, but for now, here’s all the code so far:
function _init()
 x = 64
 y = 64
end

function _update()

end

function _draw()
 cls(2) -- clear the screen to mauve
 spr(1,x,y) -- draw sprite 1 at x, y
end
Pingback: How to make a PICO-8 game: Part 2 - deKay's Blog